Coffee 101: 10 Steps of Milk Steaming
tai attitude3 min read
Milk-steaming is a process where the barista introduces atmospheric air and temperature into the cold milk to create temporal microfoam-hot milk, increasing its palatability.
Microfoam-hot milk is a crucial ingredient in milk-based coffees such as cappuccino and caffè latte. A well-made microfoam-hot milk elevates the coffee experience.
This article focuses on the requirements and step-by-step guide to milk steaming.
Requirements
To prepare microfoam-hot milk, you need:
Tools
i. An espresso machine with a steam wand.
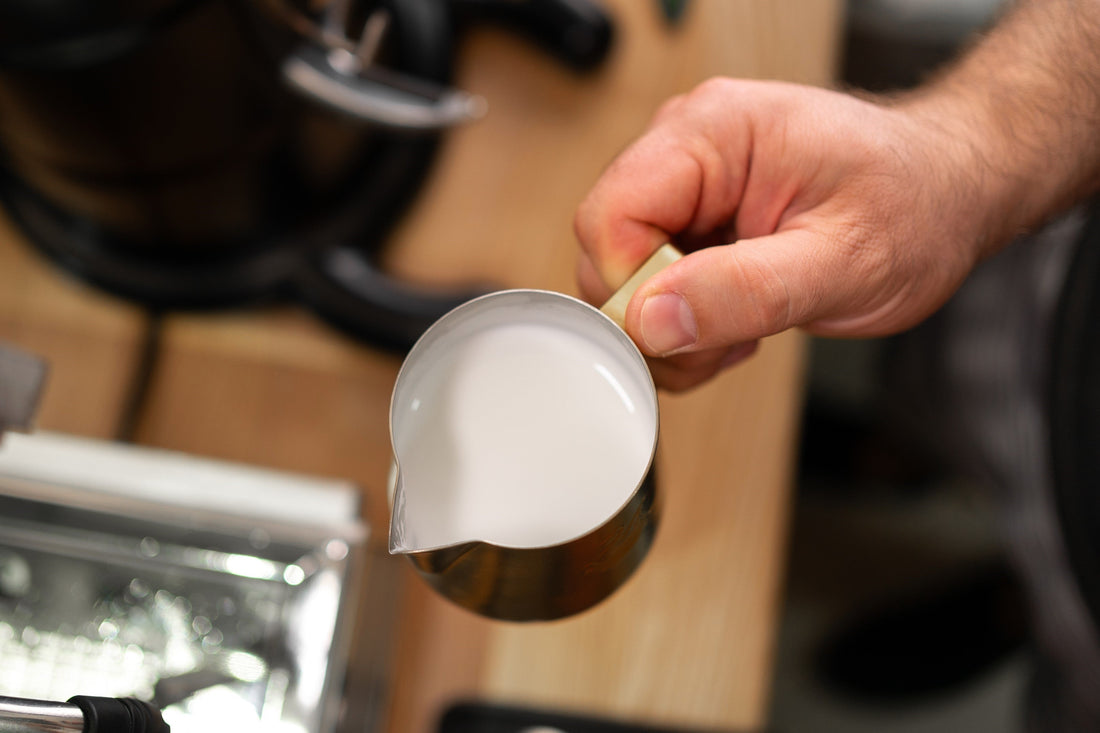
ii. A stainless-steel milk pitcher.
iii. A damp cloth
iv. A weighting scale or volumetric measurement (optional).
v. A thermometer (optional).
Ingredients
i. Fresh, cold milk.
Low-fat or plant-based milk are alternatives.
How to steam milk:
1. Fill the milk pitcher with the required amount of cold milk.
Optional: measure the cold milk by weight or volume.
2. Purge the steam wand by turning it on for 1–3 seconds to release any water residue, then turn it off.
3. Position the steam wand inside the milk pitcher at a slight angle. Submerge half of the steam tip on the surface of the cold milk.
 An illustration of a steam wand and steam tip.
 The ease of success starts with the correct steam wand and steam tip positioning.
4. Turn on the steam wand to begin milk-steaming, which injects atmospheric air and heats up the milk at the same time.
Optional: A thermometer may be used in conjunction.
5. Injecting atmospheric air expands the milk with a hissing sound lasting 1–3 seconds. How much foam to create depends on the beverage to be created.
6. Lift the milk pitcher slightly to fully submerge the steam tip in milk. This halts the injection of atmospheric air and initiates a whirlpool texturing effect until the milk pitcher feels hot to the touch (55–65 °C or 131–149 °F).
7. Turn off the steam wand, place the milk pitcher at a side, and use the damp cloth to wipe the steam wand clean from milk residue.
8. Purge the steam wand for 1–3 seconds to remove any trapped milk residue.
9. Gently knock the milk pitcher on a hard table surface to remove any visible bubbles in the microfoam-hot milk. (Skip this step if there are none.)
10. Gently swirl the milk pitcher and free-pour the microfoam-hot milk into the cup with espresso to create the beverage.
Tips for microfoam-hot milk:
• Choose a stainless-steel milk pitcher with about a 2x volume capacity for the amount of milk you use. This allows room for proper milk expansion during milk steaming.
• Using cold milk and a stainless-steel milk pitcher straight from the refrigerator provides an extra few seconds to heat up the cold milk during milk-steaming, allowing the barista more control.
• Measuring cold milk by weight or volume helps reduce waste and assists in the barista's milk-steaming consistency.
• Using a thermometer during milk-steaming is helpful; it is recommended for beginners who have yet to grasp the feel of temperatures.
• Ensure the steam wand, milk pitcher, damp cloth, and surrounding area are free of any milk residue from previous use.
• Milk tastes sweetest and creamiest at a temperature range of 55–65 °C (131–149 °F), where it complements coffee best. Only heat outside this range when there is a demand.